Views can be used to display other types of content (such as News, Events or People) in an organized way. Simply adding any one of these items will automatically update the view. To update how or where the views are displayed, see below.
How to Add a View
- Create a page or edit an existing one.
- Select the Add View button from the page elements at the bottom of the page.
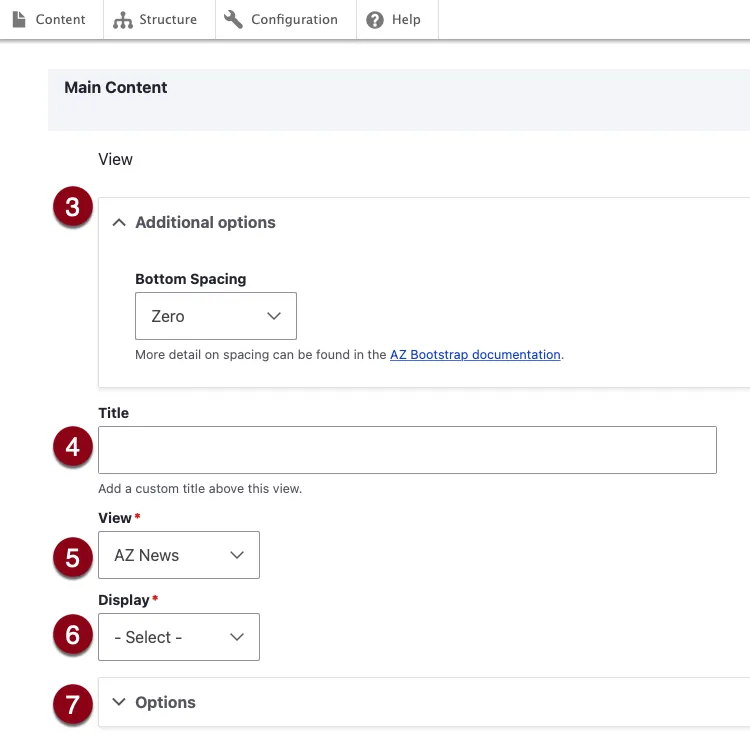
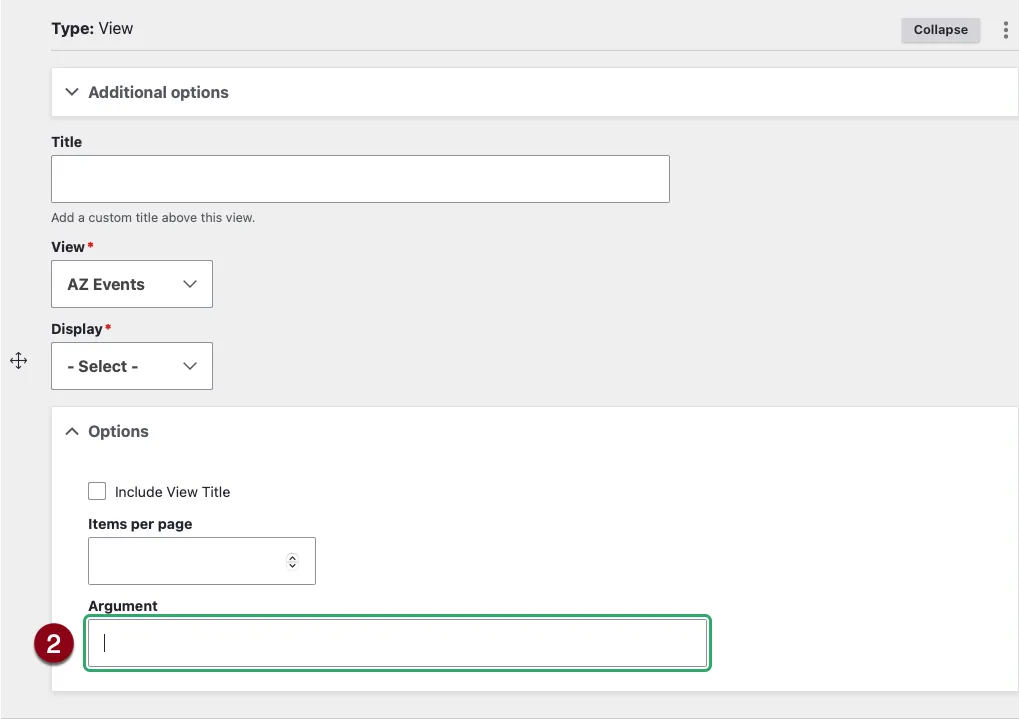
- Add bottom spacing under Additional options.
- Add a custom title to the view (optional).
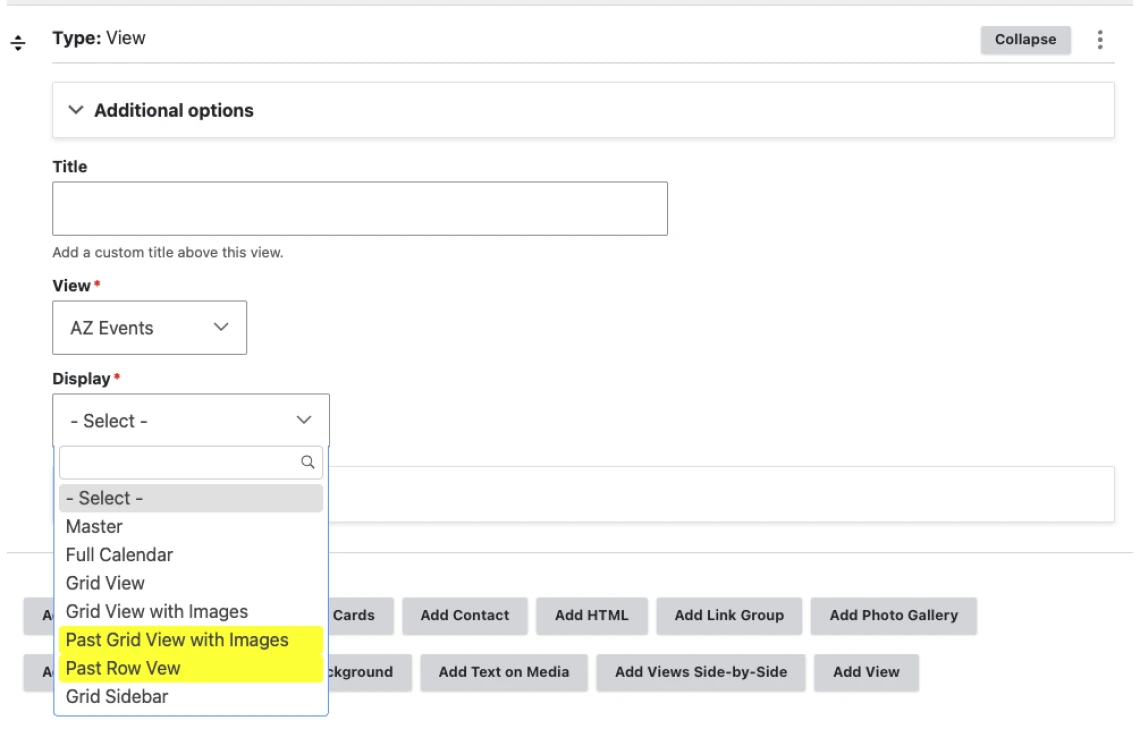
- Select desired value from the View dropdown menu (AZ Events, AZ News, AZ Person, AZ Pages).
- Choose from one of the pre-formatted display options from the Display dropdown menu.
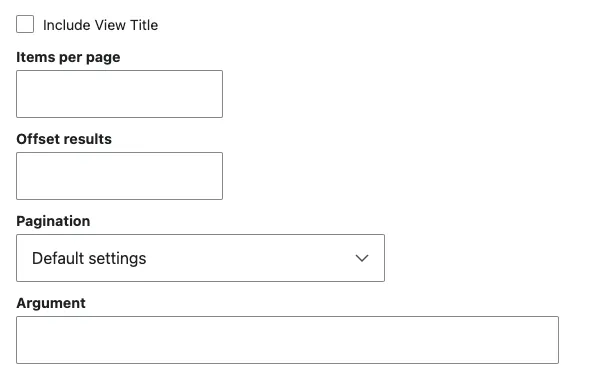
- Under the Options dropdown you can further define how your view displays:
- Items per page
- Offset Results (this omits a chosen number of results from your view)
- Pagination options
- Argument (See How to Create a View of a Specific Category below for more information.
- Save.
How to Add a Custom View
To add a custom view to the select list, please refer to the Adding Views page. Note that adding and managing views can only be done by users with the Administrator role.
Step 1: Find the taxonomy Term ID
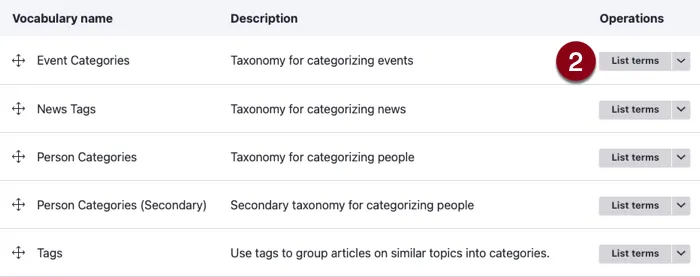
- Navigate to Manage > Structure > Taxonomy.
- Select List Terms next to the desired category (Events, Page, Person, News).
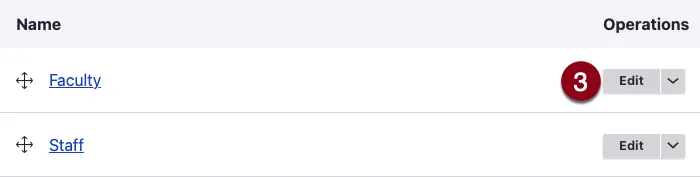
- Select Edit next to the term.
- Copy the Term ID in the URL (Example: /term/4 means the term ID is 4). More information about Taxonomy terms can be found here.

Step 2: Add the taxonomy Term ID to a View
- Edit an existing view or create a new view as explained above.
- Enter an Argument to display only items in a certain category. (Leaving this blank will display all items.)
- The Argument must be the taxonomy term ID number of the category you wish to display.
- You can enter:
- A single term ID: 3
- Multiple term IDs with pluses: 3+4+6
- Joining IDs with pluses will include any item with at least one of the IDs. This may expand the number of items in the view.
- Multiple term IDs with commas: 3,4,6
- Joining IDs with commas will only include items with all of the IDs. This may reduce the number of items in the view.
- Note: Currently, joining IDs with commas will not work for AZ Event and AZ News views.
- For more information, see the Taxonomy page.
After selecting your view, you can provide different arguments and configurations to change the appearance/behavior of your view. Here is a breakdown of the options available:
| Option | Description |
|---|---|
| Include view title | Choose whether or not you want the default View title to be shown (checking the box shows the title). |
| Items per page | Change how many items are shown per page. |
| Offset results | Skip a specific number of items in the View (this is useful if you want to display 2 items in one row, then show 3 in the next row). |
| Pagination |
|
| Argument | Filter for content that matches a given taxonomy term/category (see the "How to Create a View of a Specific Category" accordion above for detailed instructions). |
Note: This page element is currently experimental and is not enabled by default in Quickstart.
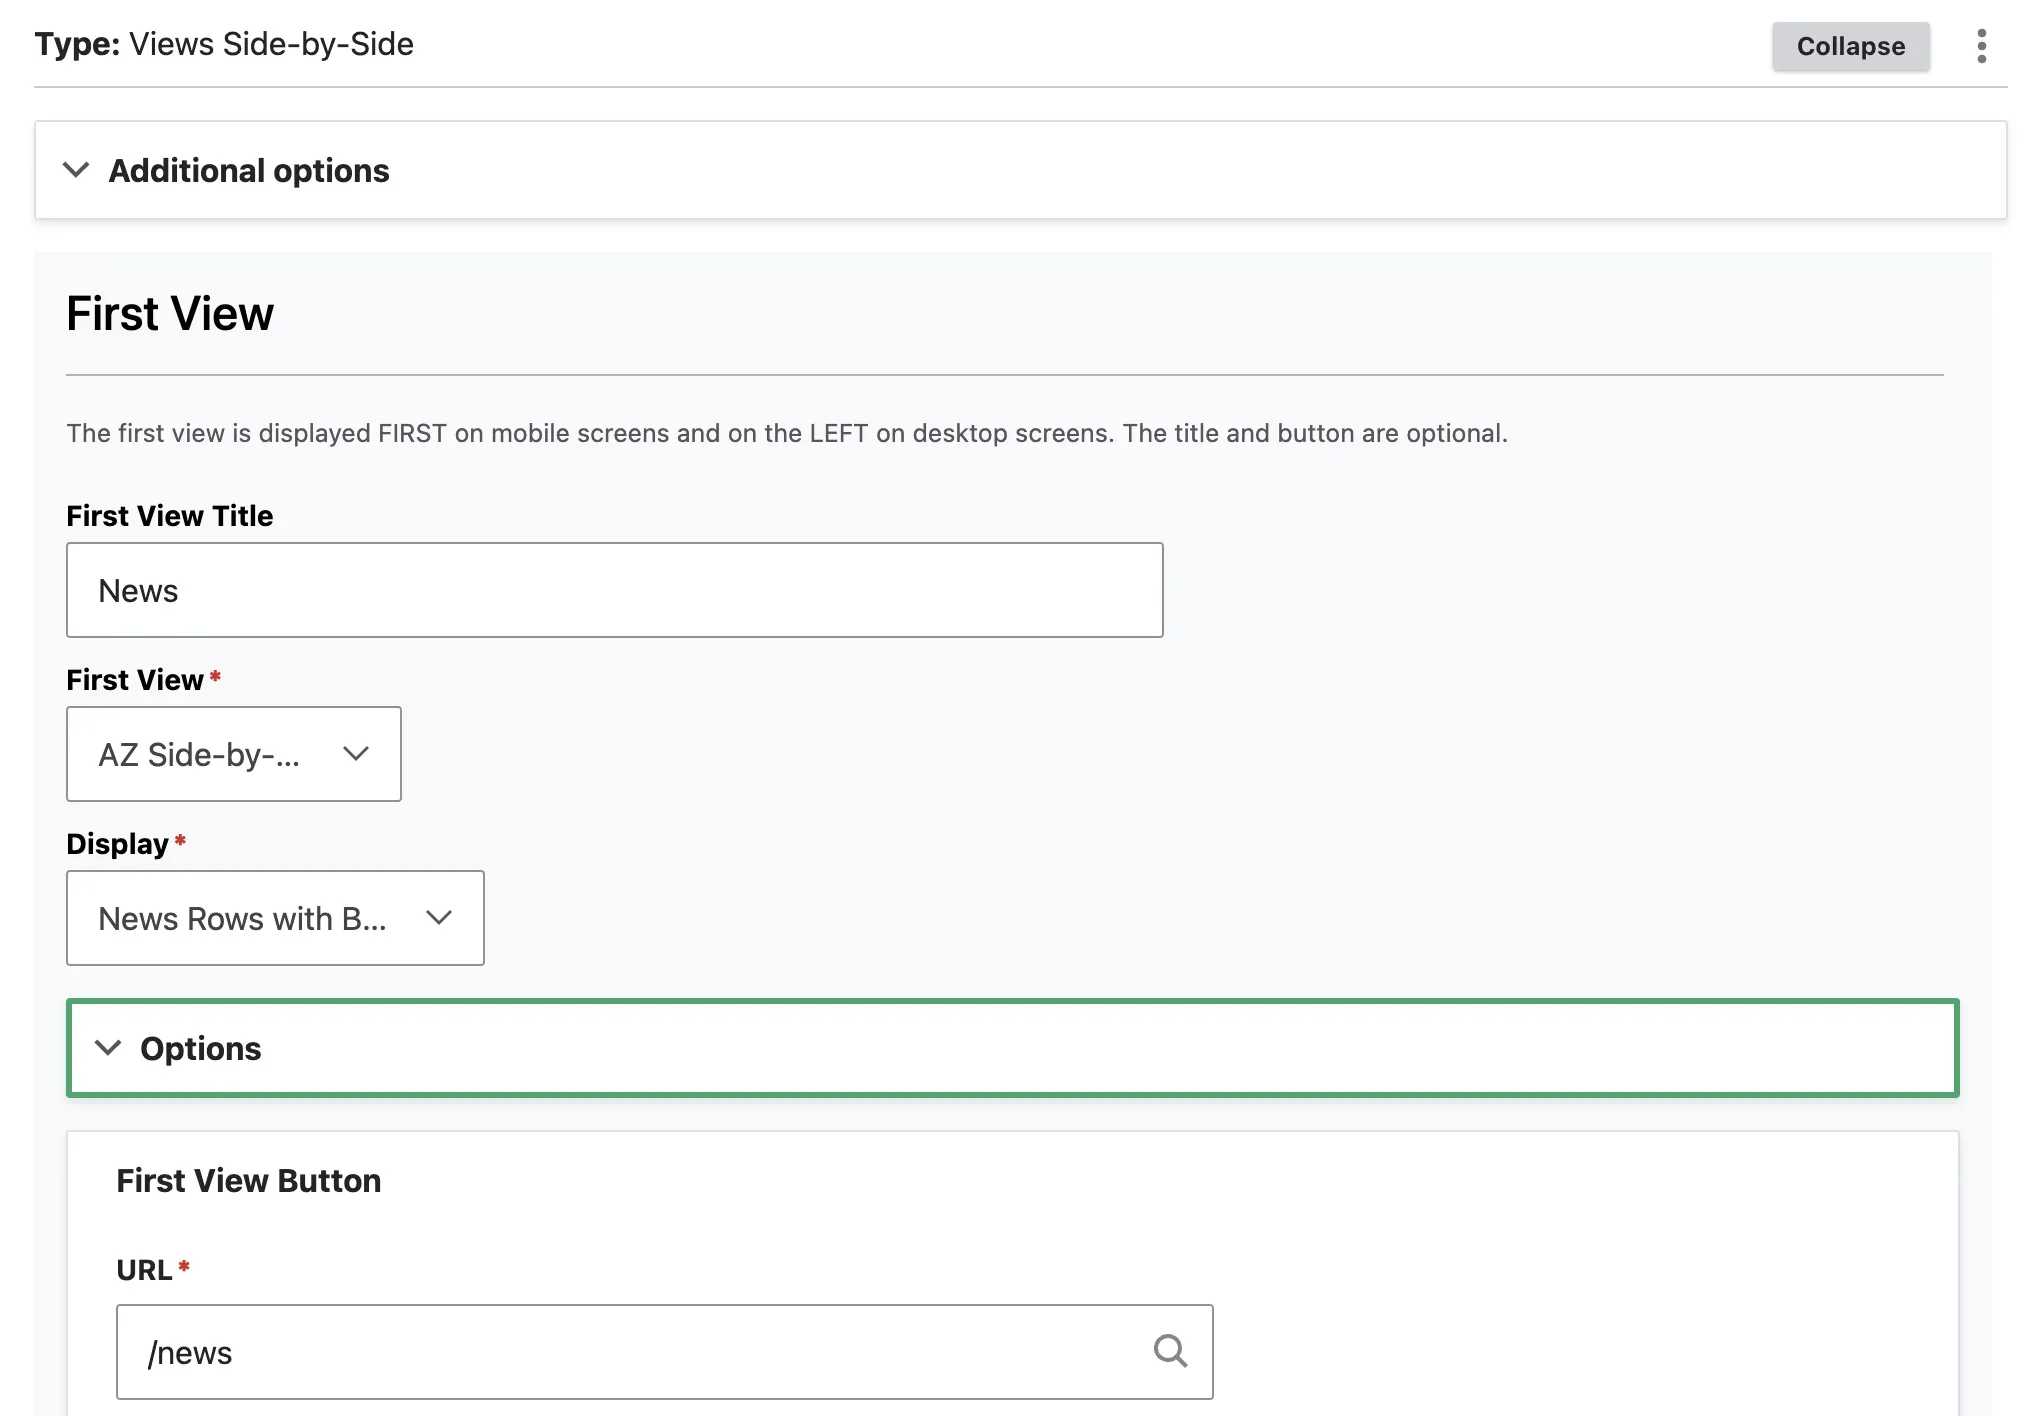
To display a pair of views side-by-side on desktop screens, add a Views Side-by-Side page element when creating or editing a page. For each of the two views, you can complete the following:
- Add bottom spacing under Additional options.
- (optional) Add a custom title to the view.
- Select "AZ Side-by-Side Views" from the First View or Second View dropdown menu.
- Choose from one of the pre-formatted display options from the Display dropdown menu.
- Note: only news and events view displays are available at this time.
- (optional) Add taxonomy term filtering or apply other options in the Options dropdown. See the View Options accordion above for more details.
- (optional) Add a custom button below the view content by filling in the URL and Link text fields.
Sample Events View
- View: AZ Events
- Display: Grid View
Sample News View
- View: AZ News
- Display: Small Row View
- Note: When using arguments with Small Row View, the term ID must be within quotations. (ie. "8")

Sample Person View
- View: AZ person
- Display: Row Page


Sample Page View
View: AZ Pages
Display: Row Page
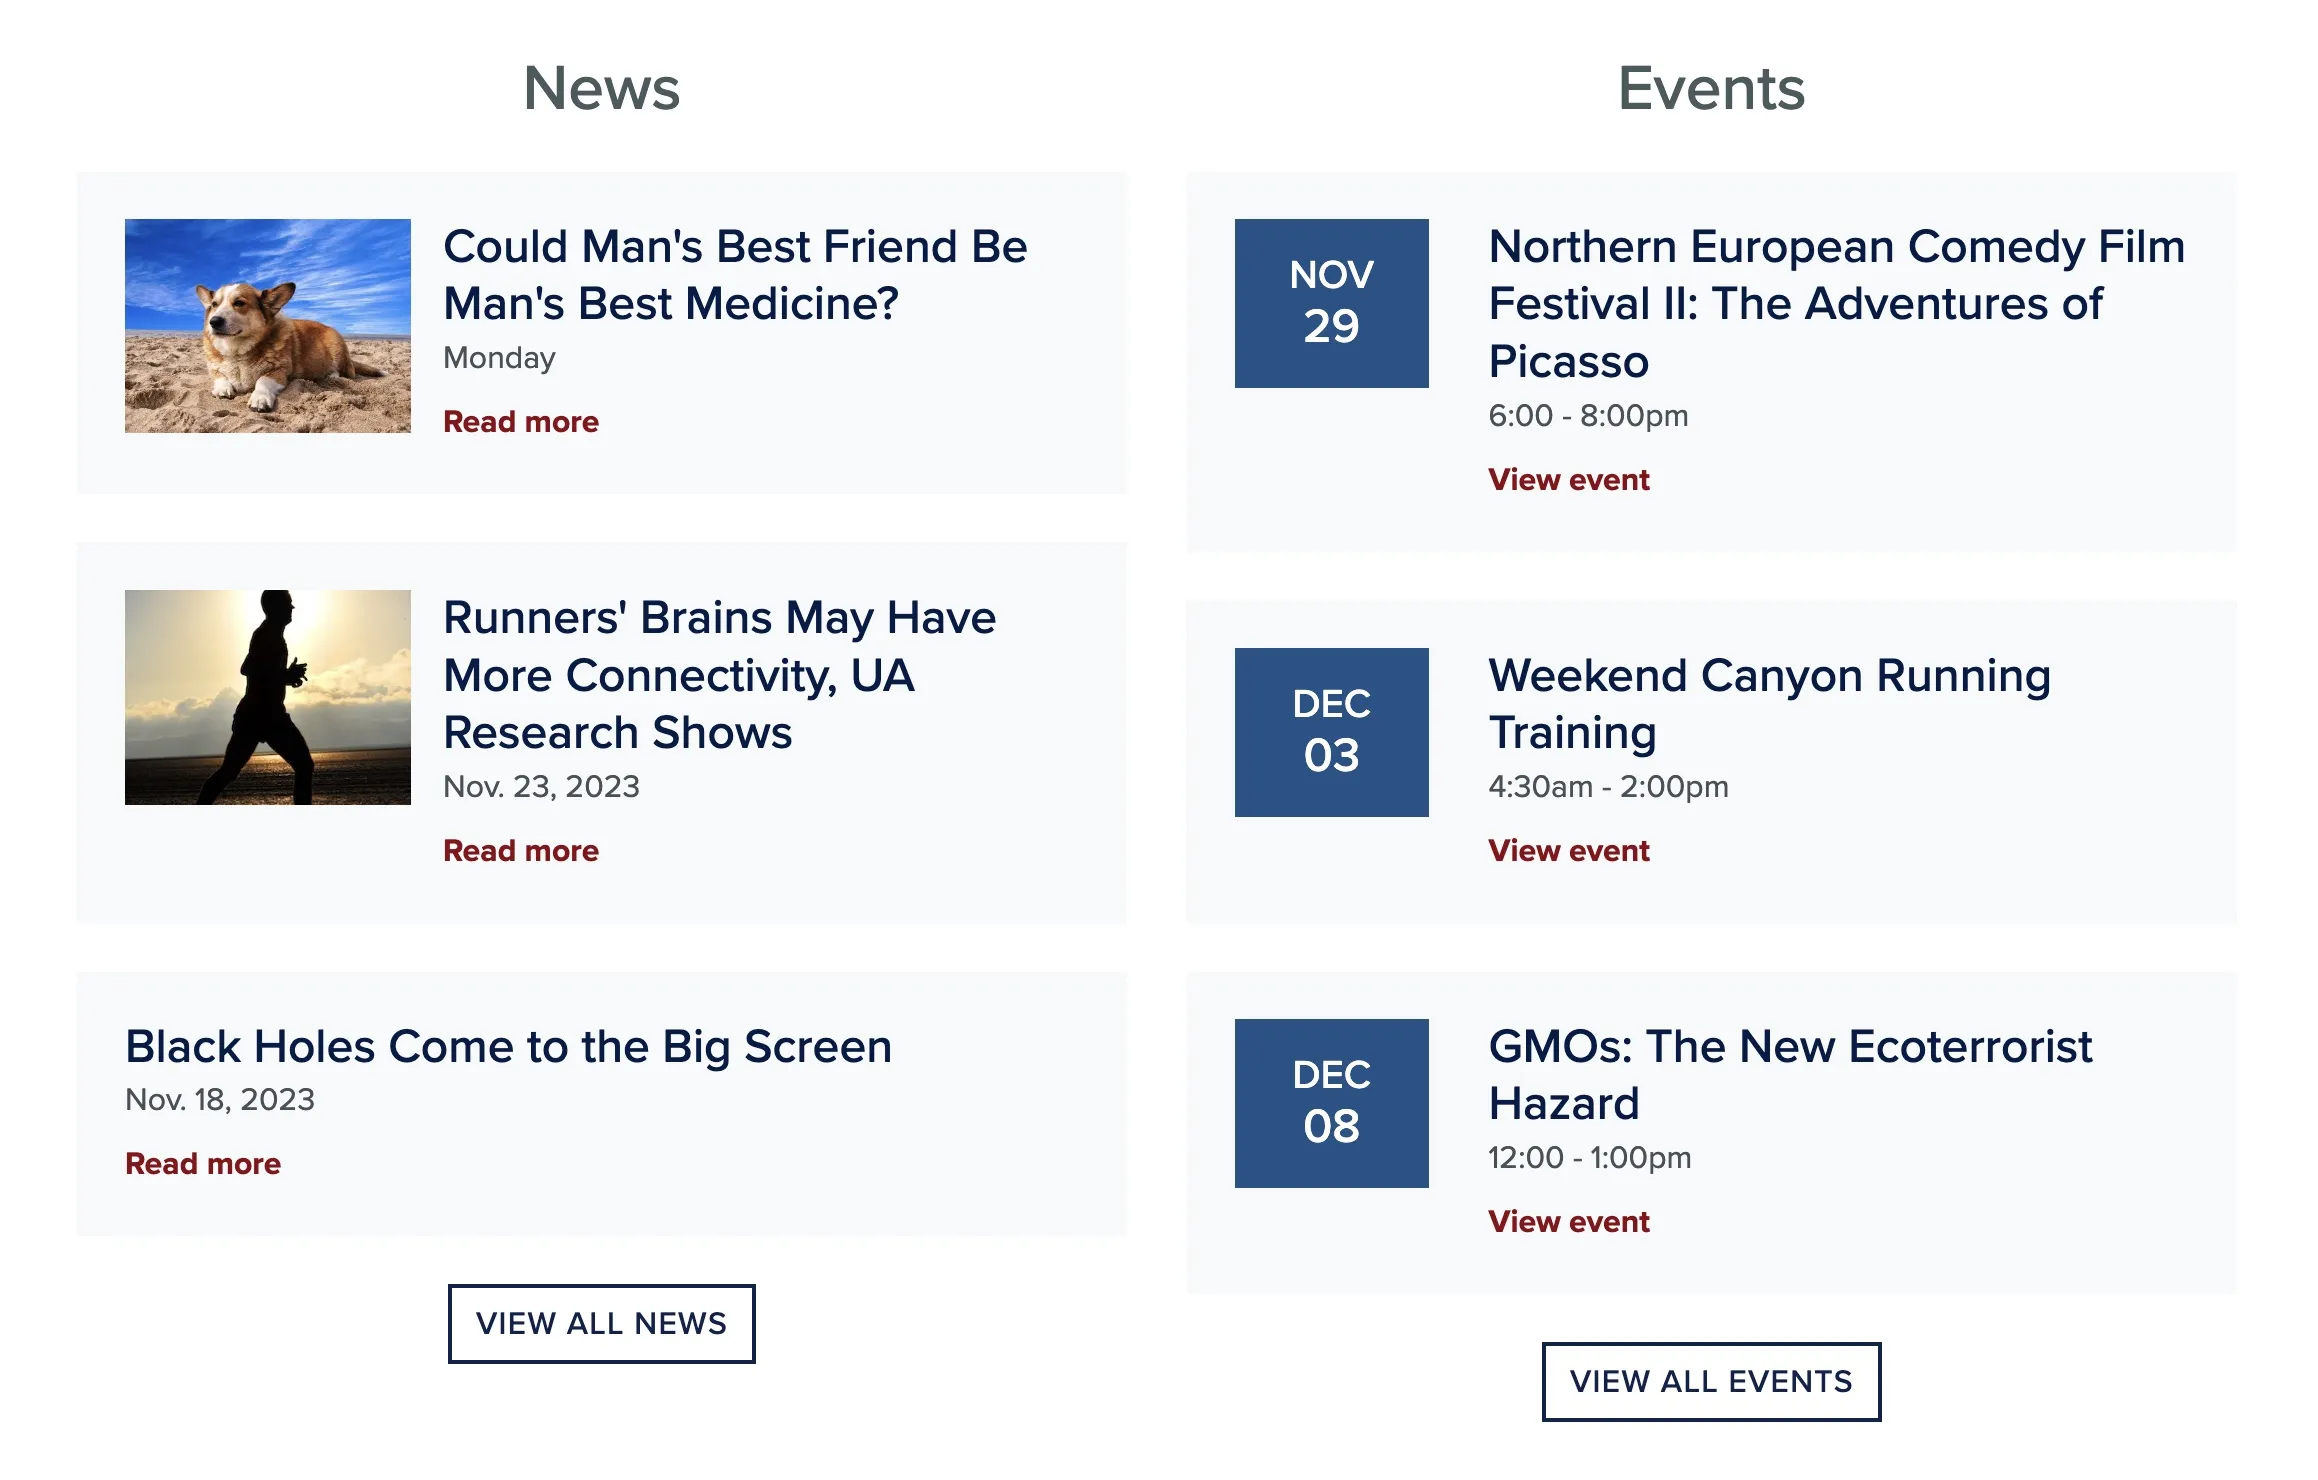
Sample Views Side-by-Side
- View (for both): AZ Side-by-Side Views
- Displays: News Rows with Background, Event Rows with Background
When adding an Event View to your page, under the view's Display options, along with all of our previous display options, Past Grid View With Images can be selected.
This option will display all past events, giving you a convenient way to host an archive of events on your website.
Sample Past Event Views
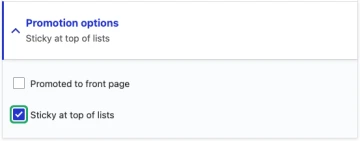
The "Sticky at top of lists" option can be found on all pages, events, news, and people. When selected, the item will stick to the top of any view showing this item.
The Sticky at top of lists option is found on the right side under "Promotion options". Save the page and clear cache to see changes take effect.