
The Person content type provides the basic fields to capture information for the people in your organization/department and are displayed through Views.
How to Add a Person
- Click on Content > Add Content.
- Select Person.
- Fill out the desired fields (only first and last name are required).
- Save.
Fields
- First Name: Person's first name
- Last Name: Person's last name
- Suffix(es): Person's name suffixes
- Pronouns: Pronouns Guidance
- Photo: Person's headshot photo
- Note: Images must be larger than 568 x 426 pixels and the Card image crop will be used.
- Categories: Used to organize people in Views. Categories must first be created using the Taxonomy editor.
- Category: Person's primary category (usually department name)
- Category - Secondary: Person's secondary category
- Job Title(s): Person's job title (multiple titles can be added by clicking Add another item)
- Email: Person's work email address
- Phone Number(s): Person's work phone number (multiple numbers can be added by clicking Add another item)
- Address(es): Person's work address (multiple addresses can be added on separate lines)
- Link(s): Used to add a link to a person's personal/research site etc.
- URL: The URL of the external link (must begin with "http(s)://")
- Link Text: Text to display for the link
- Biography: Person's biography
- Degrees: Person's degree (multiple degrees can be added by clicking Add another item)
- Link to external bio (on Summary Tab): Adding a link in this field will take users directly to an external web page rather than the individual bio page.
- NetID: Person's NetID (used for institutional integrations)
- Work Experience: Person's work history (multiple experiences can be added by clicking Add another item)
- Awards: Person's awards (multiple awards can be added by clicking Add another item)
- Licensure & Certification: Person's licensure and certifications (multiple items can be added by clicking Add another item)
- Teaching Interests: Person's teaching interests
- Research Interests: Person's research interests
How to Manually Reorder People
The default ordering of people on your site is alphabetical by last name. Each new person that you add to your site is automatically located in directory Views on your site based on this ordering rule.
In some cases, you may wish to manually reorder people on your site to allow for certain people to always appear at the top of Views.
Note that once you manually reorder your list of people (i.e. by moving one or more people within your list per instructions below), any new people you add in the future will be added at the bottom of your people list (not in alphabetical order), and appear at the bottom of any directory Views.
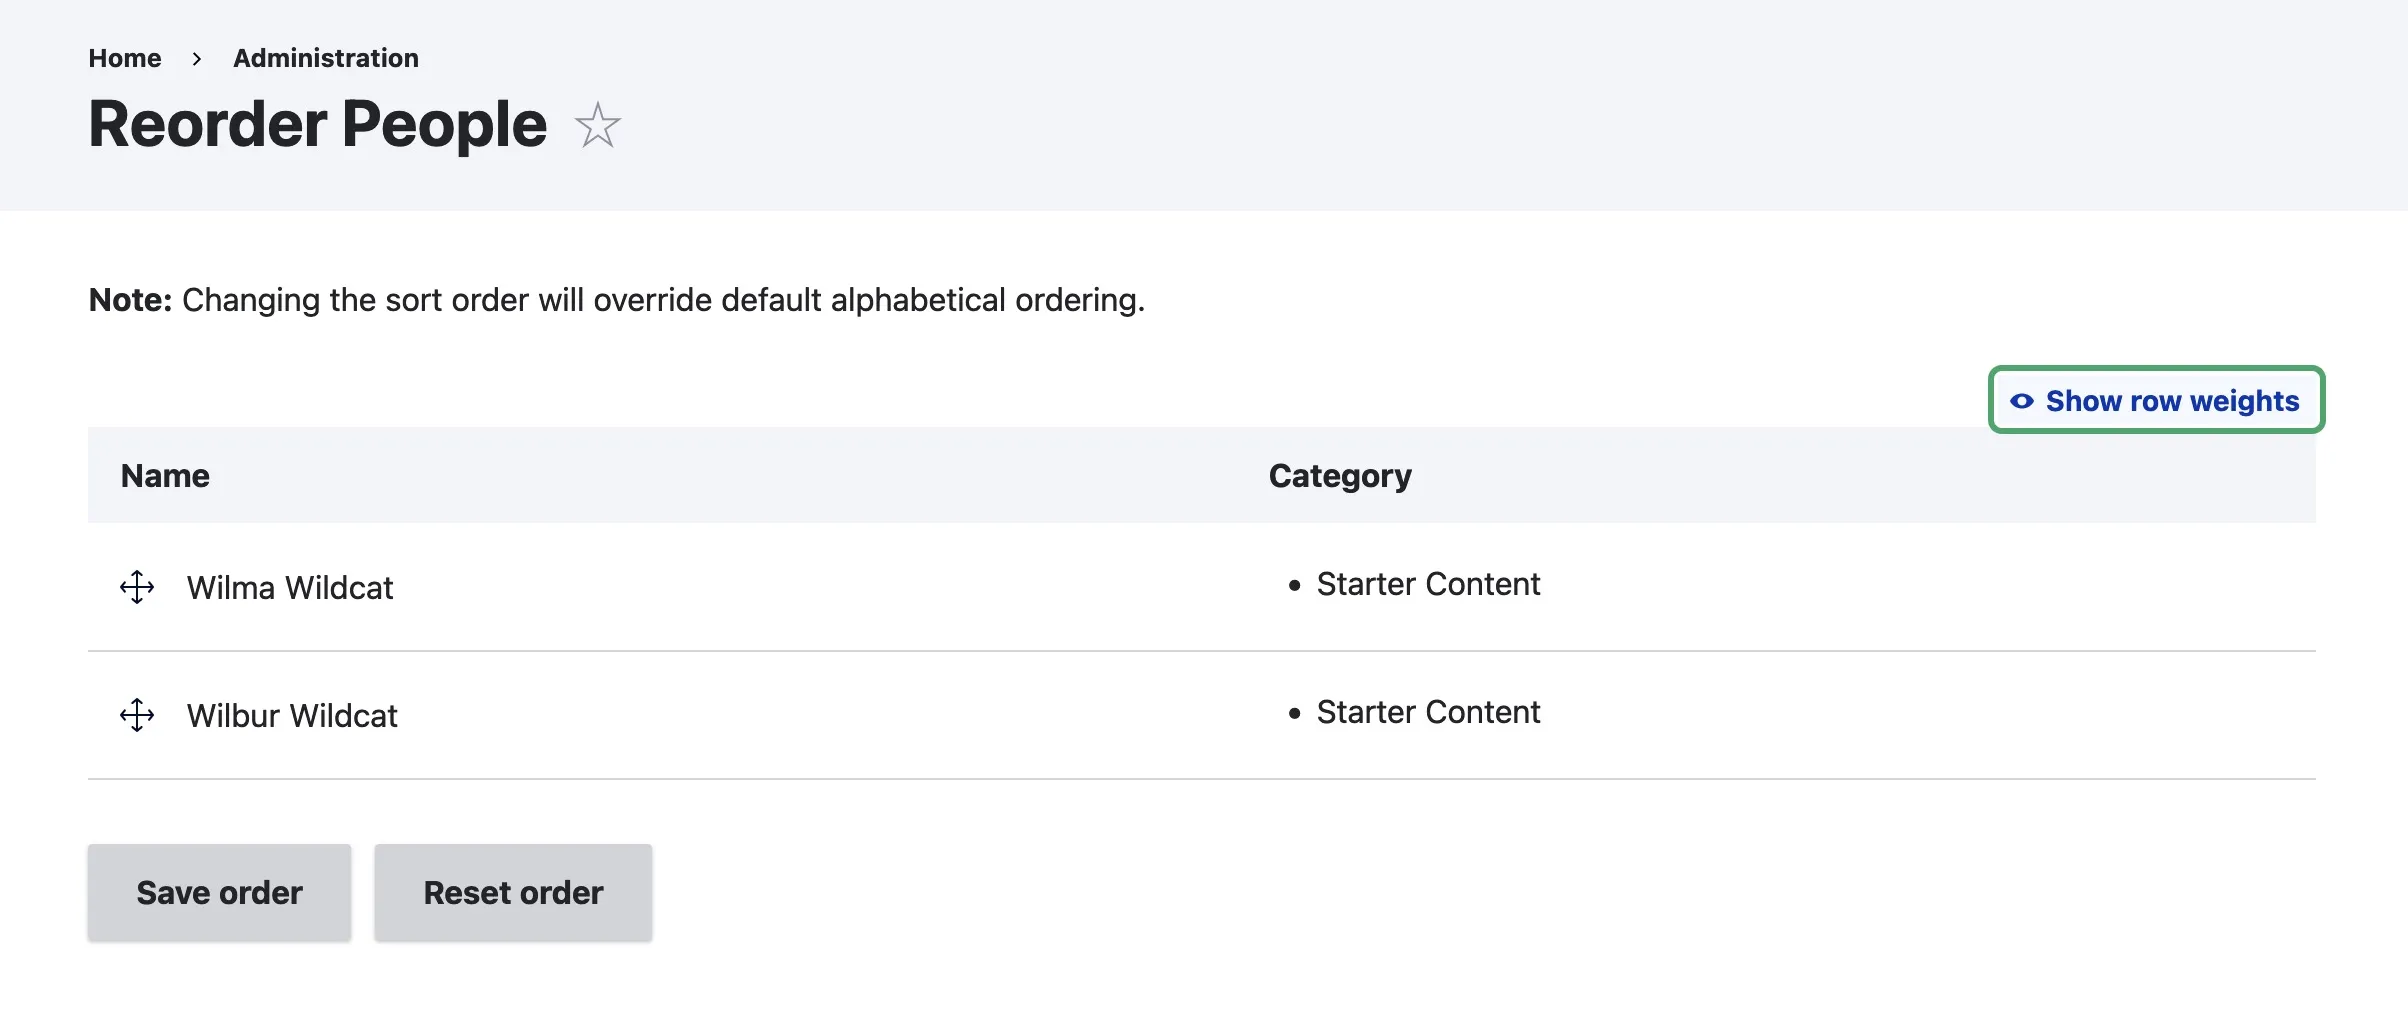
Visit the following url (customize to match your own url)
https://yoursite.arizona.edu/admin/az-person/reorder-people- Before reordering people, ensure Show Row Weights is visible on the top right above Main Content.
- If Hide Row Weights is showing, click that so that Show Row Weights is visible instead.
- Look for the small cross to the left of the name of the person you wish to move.
- Click the cross and as you hold, drag the person to its desired location.
- You can move multiple people in your list before saving.
- Save Order.
How to 'Reset' Your People Order To Sort Alphabetically
If you wish to undo any manual reordering of people, and to return to ordering people on your site alphabetically by last name, click the Reset Button shown in the picture above.
Note that this is irreversible and will re-alphabetize your list. Any new people added in the future will automatically be placed in that alphabetized list by last name.
You can manually reorder your list again if you wish.
Grid Page View
Row Page View


Grid Modal 3 Col

Wilma Wildcat
Official Mascot