Events are a listing feature that you can create and publish on your site and are displayed on the website through Views.
How to Create an Event
- Navigate to Content > Add Content > Event.
- Enter a Title for your event.
- When is a mandatory field which allows you to specify when the event will take place:
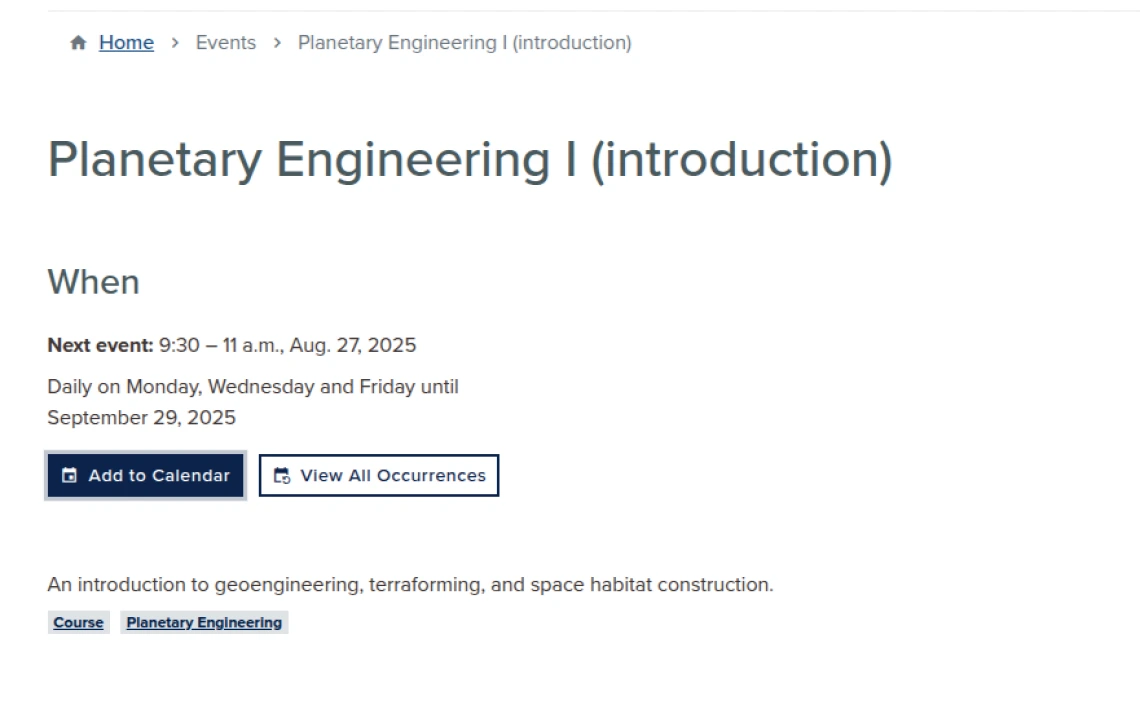
- Set the Start and End dates and times for the event. (If you check the All Day checkbox, the times are not necessary.)
- To make a recurring event, set the Repeat dropdown to the desired frequency and modify the recurrence as needed. Use the Advanced accordion to specify particular days of the week for the recurrence.
- Click Add another item to add another occurrence or recurrence.
- If an event has multiple occurrences, the event page will include a button for viewing all the occurrences.
- You can add a Summary by expanding the Summary fields section in the right sidebar.
- Other fields include:
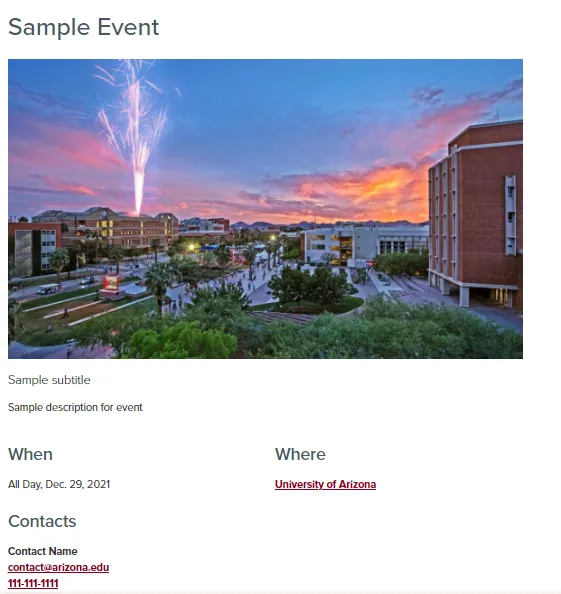
- Subtitle allows you to add a subtitle to your event
- Category (Taxonomy term) allows you to add your event to a category. More information on categories and taxonomy.
- Featured Images allows you to add images to be displayed at the top of the event page
- Event Description allows you to add a description for the event
- Where allows you to specify the location of the event with a URL and text
- Attachments allows you to add additional attachments to the event page
- Contacts allows you to add contacts for the event to the event page
- By default, when you save the event, the thumbnail image will be set to the first image you have selected in the Featured Images field. To make changes to the thumbnail image, expand the Summary fields section in the right sidebar.
- To simply adjust the cropping of the image for the thumbnail, edit the image and apply a new Card Image cropping.
- To prevent the thumbnail image from being set to match the first of the Featured Images on every save, uncheck the Use Featured Image as Thumbnail checkbox.
Note: Future events on your site will automatically display by adding /calendar to the end of your site URL.
Summary Fields
Expanding Summary fields will give you options to change the content of an event item when it's displayed as a card or row in a view (such as the page at /calendar).
- Link to external event allows the event item to link to a page on another site (such as an event page on the University calendar) instead of linking to the event page on the current site.
- Use Featured Image as Thumbnail and Thumbnail Image determine what image is used for the event item. For more information about these fields, see the last step for creating an event above.
- Summary allows the event item to include a brief text description.
- Web page URLs and email addresses will not turn into links automatically. There is no option to provide an additional link.
Useful Links
- Create a page or edit an existing one.
- Select the Add View button from the page elements.
- Add the bottom spacing using Additional Options.
- Select AZ Events from the View dropdown menu.
- Select a display from the Display dropdown menu (Grid View, Full Calendar).
- Selecting Grid View allows you to display three upcoming events on a page
- Save.

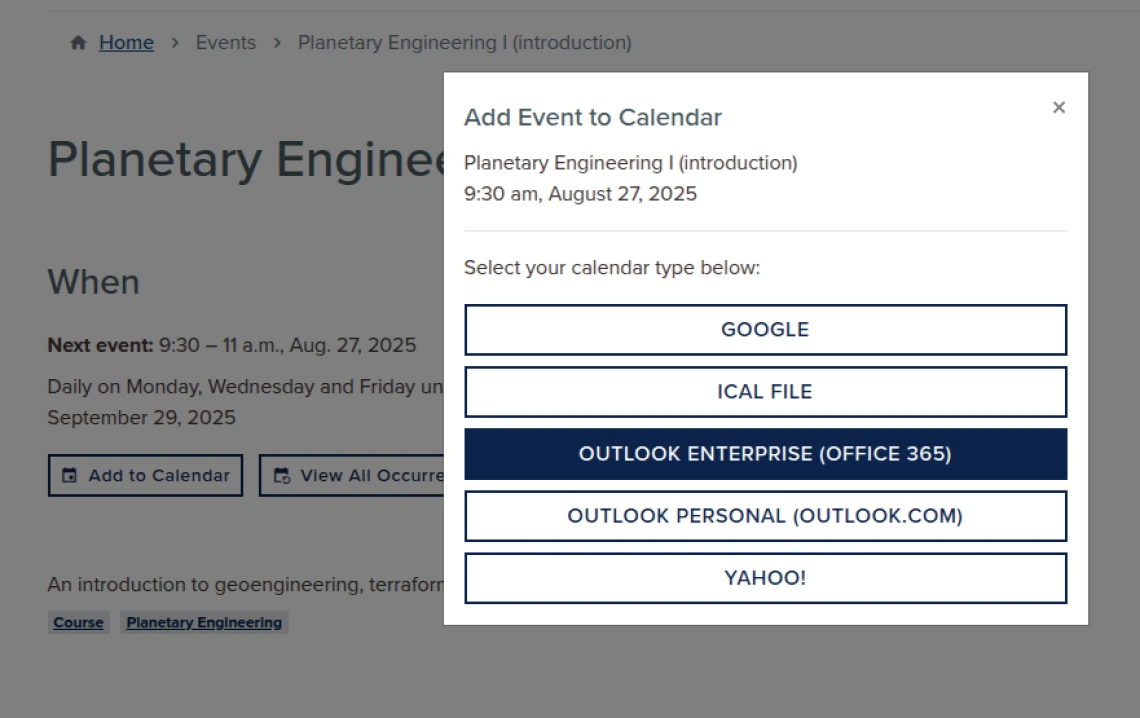
Events which have an upcoming occurrence will feature an Add to Calendar button. This allows adding the event to different calendar services. Supported calendar types currently include Google, iCal, Office 365, Outlook.com, and Yahoo!
For events with multiple occurrences, the added event will be the next upcoming occurrence. Adding an entire event series of a recurring event is not currently supported.
To use this feature, visitors can select Add to Calendar and choose their calendar type.


